How to get multiple desktops with different files on Windows
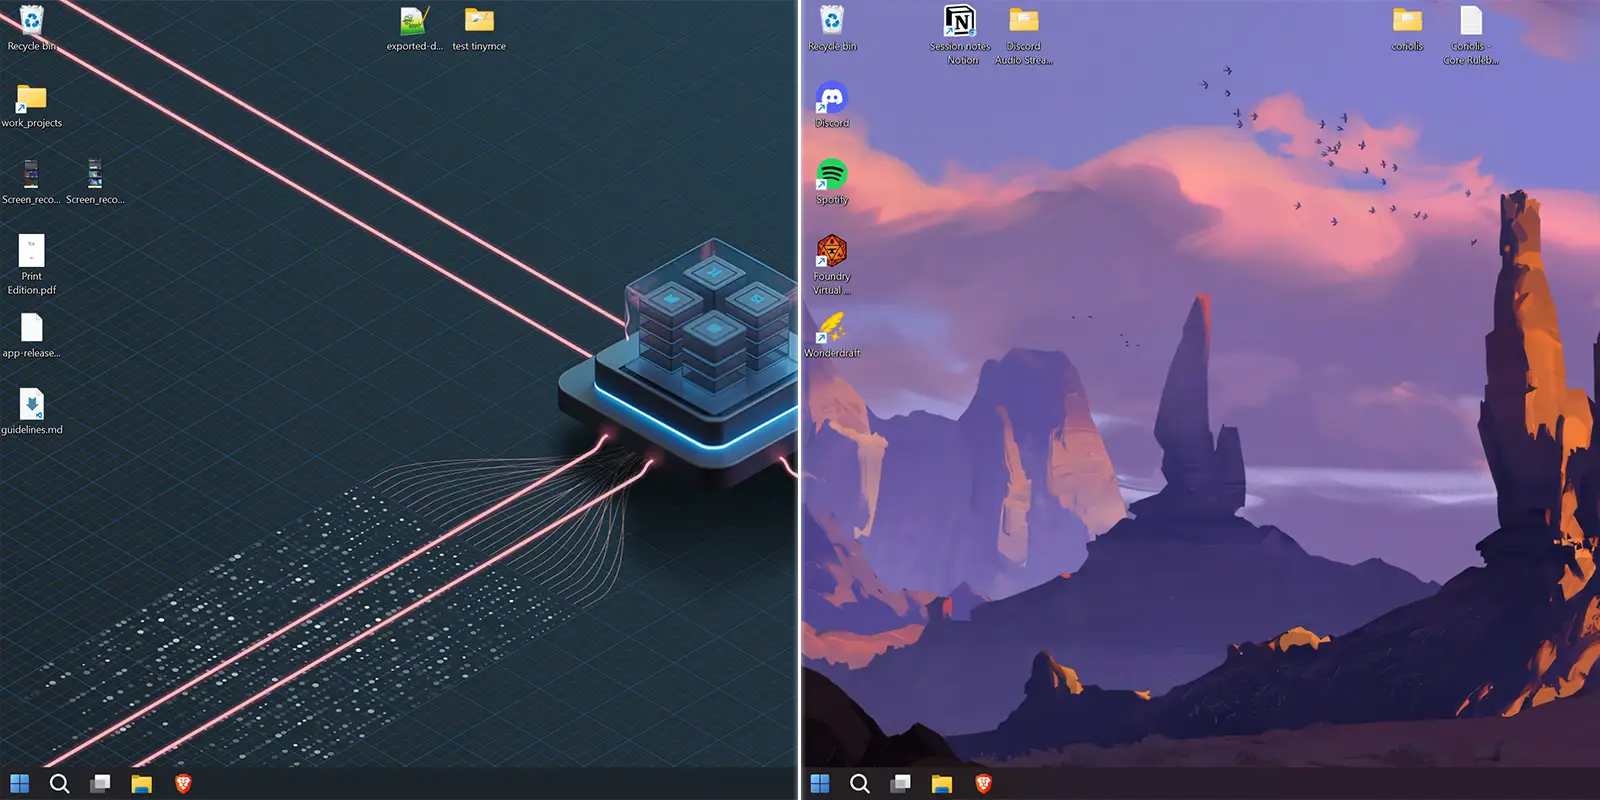
WorkTop gives you multiple separate desktops on Windows, or desktop profiles, each with its own files, icons, and arrangement. Here's how to set them up and switch between them.
Setting up your desktops
WorkTop's main interface can be opened by double-clicking the icon in your system tray, or by launching WorkTop from the Start menu. This is where you add and configure your different desktops.
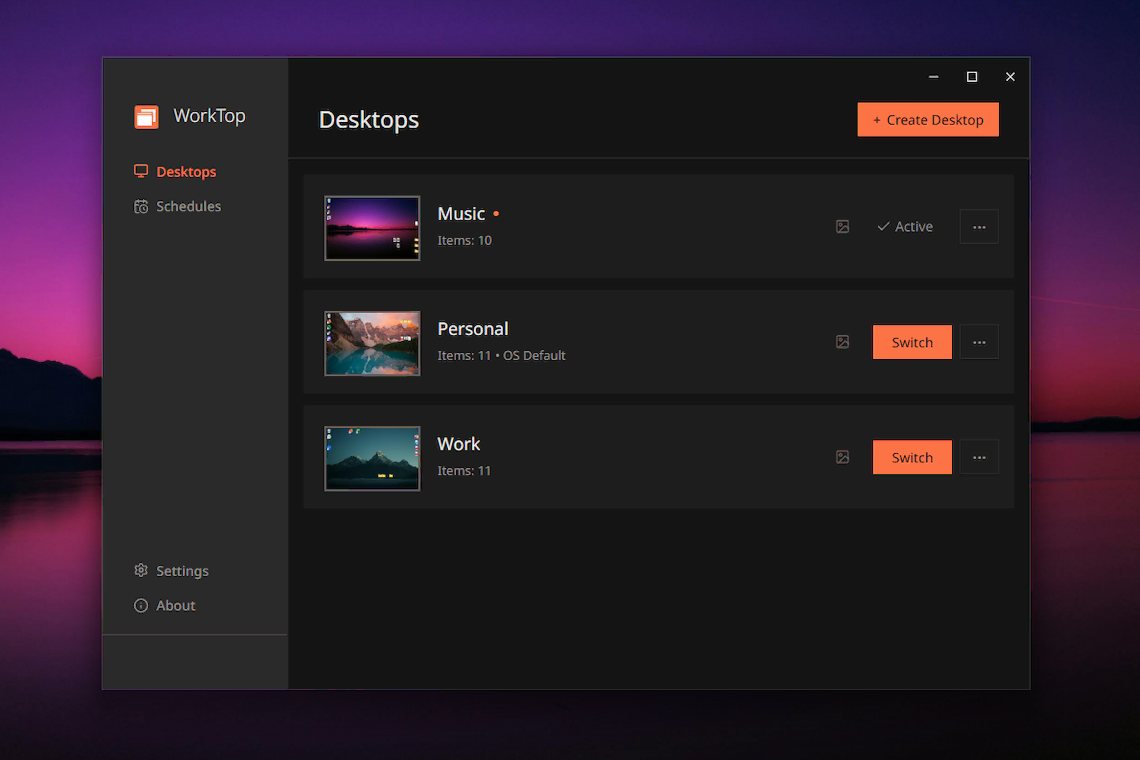
When you start using the app, the Manager shows only your default OS desktop. This desktop cannot be deleted, but you can rename it if you prefer. To get started with multiple desktops, click the Create Desktop button in the top right of the app and give your new desktop a name. It will appear in the list as a new entry. Click the Switch button on the new entry, and you'll see a fresh desktop with no files and only a Recycle Bin icon. At this point you can add whatever files or shortcuts you'd like. You can switch back and forth to another desktop if you want to copy and paste files between them. WorkTop remembers the layout of your files and shortcuts for each desktop, including across multiple monitors, so they all stay the way you left them when you switch.
Each desktop is its own folder, and switching simply changes which folder Windows shows you as your desktop. If you want to inspect the contents of an inactive desktop, you can open the folder of any desktop from the menu on each card in the Manager. If you want to delete a desktop, you use the same menu; any files on a deleted desktop are moved to a folder on your OS desktop so you never risk losing your data.
Switching between desktops
There are multiple ways to switch desktop, beyond just opening the app.
The fastest option is the hotkey Alt+W, which displays the Quick Switcher and lets you cycle through your desktops just like you would cycle apps with Alt+Tab. If you prefer a different hotkey, it can be rebound in WorkTop's settings.
You can also switch using the tray icon, which gives you a menu listing every desktop you can use to select which one to enable. The same menu is available by right-clicking on the desktop itself. Right-clicking on a file on the desktop also lets you send the selected files to a desktop of your choice, if you prefer that workflow over copy, switch, and paste.
Next steps
WorkTop's free tier supports three desktops. The Pro license increases that to unlimited and adds per-desktop wallpapers, scheduled switching, and unlimited actions.
Other features you may get use of depending on your preferences: if you want to trigger commands when you switch, like loading a different Rainmeter layout or launching the apps you use for a given context, see How to switch Rainmeter layouts per desktop. If you'd rather your WorkTop desktops follow Windows' own virtual desktops, that's covered in linking to virtual desktops. For the full reference on every setting and feature, you can explore the WorkTop docs.